 使用docker安装phpmyfaq知识管理系统
背景
平时运维过程中经常会处理一些windows系统问题,但有些问题可以让员工自行处理,有些比较困难的问题可以管理员先做记录,之后遇到的时候可以进行查找,提高工作效率
目的
使用docker安装phpmyfaq记录平时遇到的故障及处理过程,方便员工自行处理和管理员处理故障
环境
centos7.4 2核 64位操作系统
docker
docker-compose
phpmyfaq3.0.6
安装过程
1.安装docker环境
替换yum源
# cd /etc/yum.repos.d/
# mkdir repo_bak
# mv *.repo repo_bak/
# wget http://mirrors.aliyun.com/repo/Centos-7.repo
# yum install epel-release -y
安装docker引擎
# yum install -y yum-utils git
# sudo yum-config-manager \
    --add-repo \
    https://download.docker.com/linux/centos/docker-ce.repo
# yum install docker-ce docker-ce-cli containerd.io -y
# yum install gcc python-devel python3 -y
# pip3 install docker-compose
启动docker服务并设置开机自启动
# systemctl start docker
# systemctl enable docker
2.下载phpmyfaq环境
项目地址
docker对应项目地址
# git clone https://github.com/phpMyFAQ/docker-hub.git && cd docker-hub
# git checkout 3.0
# docker build -t phpmyfaq .
3.docker-compose.yml和dockerfile部分修改
由于按照官网操作流程不能一次性安装成功,故按照自己实际安装成功流程完善配置文件如下
dockfile文件内容如下:
#
# This image uses 2 interstage and an php:7.3-apache final stage
#
# Interstages are:
#   - composer
#   - npm & yarn & grunt
#
# Final stage gets all that generated stuff and add it to the final image
#

############################
#=== composer interstage ===
############################
FROM composer:latest as composer
WORKDIR /app

#=== Get PMF source code ===
ARG PMF_BRANCH="3.0"
RUN set -x \
 && git clone \
        --depth 1 \
        -b $PMF_BRANCH \
        https://github.com/thorsten/phpMyFAQ.git \
        /app

#=== Call composer ===
RUN apk update \
#RUN set -x \
#  && composer require "ext-gd:*" --ignore-platform-reqs
#RUN set -x \
#  && composer config repo.packagist composer https://mirrors.aliyun.com/composer/
RUN set -x \
  && composer install --no-dev
########################
#=== yarn interstage ===
########################
FROM node:latest as yarn
WORKDIR /app

#=== Get PMF source code from previous stage ===
COPY --from=composer /app /app

#=== Install dependencies ===
RUN set -x \
#  && npm update \
#  && npm config set registry http://registry.npmjs.org/ \
#  && npm install  node-sass -g --unsafe-perm

#=== Build assets ===
RUN set -x \
 && yarn install --network-timeout 1000000 \
 && yarn build

#################################
#=== Final stage with payload ===
#################################
FROM php:7.3-apache

#=== Install gd php dependencie ===
RUN set -x \
 && buildDeps="libpng-dev libjpeg-dev libfreetype6-dev libzip-dev" \
 && apt-get update && apt-get install -y ${buildDeps} --no-install-recommends \
 \
 && docker-php-ext-configure gd --with-freetype-dir=/usr/include/ --with-jpeg-dir=/usr/include/ \
 && docker-php-ext-install gd \
 \
 && apt-get purge -y ${buildDeps} \
 && rm -rf /var/lib/apt/lists/*

#=== Install ldap php dependencie ===
RUN set -x \
 && buildDeps="libldap2-dev" \
 && apt-get update && apt-get install -y ${buildDeps} --no-install-recommends \
 \
 && docker-php-ext-configure ldap --with-libdir=lib/x86_64-linux-gnu/ \
 && docker-php-ext-install ldap \
 \
 && apt-get purge -y ${buildDeps} \
 && rm -rf /var/lib/apt/lists/*

#=== Install intl, opcache, and zip php dependencie ===
RUN set -x \
 && buildDeps="libzip-dev libicu-dev zlib1g-dev libxml2-dev" \
 && apt-get update && apt-get install -y ${buildDeps} --no-install-recommends \
 \
 && docker-php-ext-configure intl \
 && docker-php-ext-install intl \
 && docker-php-ext-install zip \
 && docker-php-ext-install opcache \
 \
 && apt-get purge -y ${buildDeps} \
 && rm -rf /var/lib/apt/lists/*

#=== Install mysqli php dependencie ===
RUN set -x \
 && docker-php-ext-install mysqli

#=== Install pgsql dependencie ===
RUN set -ex \
 && buildDeps="libpq-dev" \
 && apt-get update && apt-get install -y $buildDeps \
 \
 && docker-php-ext-configure pgsql -with-pgsql=/usr/local/pgsql \
 && docker-php-ext-install pdo pdo_pgsql pgsql \
 \
 && apt-get purge -y ${buildDeps} \
 && rm -rf /var/lib/apt/lists/*

#=== Apache vhost ===
RUN { \
  echo '<VirtualHost *:80>'; \
  echo 'DocumentRoot /var/www/html'; \
  echo; \
  echo '<Directory /var/www/html>'; \
  echo '\tOptions -Indexes'; \
  echo '\tAllowOverride all'; \
  echo '</Directory>'; \
  echo '</VirtualHost>'; \
 } | tee "$APACHE_CONFDIR/sites-available/app.conf" \
 && set -x \
 && a2ensite app \
 && a2dissite 000-default \
 && echo "ServerName localhost" >> $APACHE_CONFDIR/apache2.conf

#=== Apache security ===
RUN { \
  echo 'ServerTokens Prod'; \
  echo 'ServerSignature Off'; \
  echo 'TraceEnable Off'; \
  echo 'Header set X-Content-Type-Options: "nosniff"'; \
  echo 'Header set X-Frame-Options: "sameorigin"'; \
 } | tee $APACHE_CONFDIR/conf-available/security.conf \
 && set -x \
 && a2enconf security

#=== php default ===
ENV PMF_TIMEZONE="Asia/Shanghai" \
    PMF_ENABLE_UPLOADS=On \
    PMF_MEMORY_LIMIT=64M \
    PMF_DISABLE_HTACCESS="" \
    PHP_LOG_ERRORS=On \
    PHP_ERROR_REPORTING=E_ALL\
    PHP_POST_MAX_SIZE=64M \
    PHP_UPLOAD_MAX_FILESIZE=64M

#=== Add source code from previously built interstage ===
COPY --from=yarn /app/phpmyfaq .

#=== Ensure debug mode is disabled and do some other stuff over the code ===
RUN set -x \
 && sed -ri ./src/Bootstrap.php \
      -e "s~define\('DEBUG', true\);~define\('DEBUG', false\);~" \
 && mv ./config ../saved-config

#=== Set custom entrypoint ===
COPY docker-entrypoint.sh /entrypoint
RUN chmod +x /entrypoint
ENTRYPOINT [ "/entrypoint" ]

#=== Re-Set CMD as we changed the default entrypoint ===
CMD [ "apache2-foreground" ]
docker-compose.yml 对应的elasticsearch服务器在最后添加ports端口映射
ports:
  - 9200:9200
4.docker-compose 下载并配置启动容器
docker-compose up
启动过程中会报如下两个故障
elasticsearch | [1]: max virtual memory areas vm.max_map_count [65530] is too low, increase to at least [262144]
Error:
elasticsearch | Caused by: java.nio.file.AccessDeniedException: /usr/share/elasticsearch/data/nodes
第一个故障解决办法
# cd docker-hub/volumes
# chmod g+rwx esdata
# chgrp 1000 esdata
第二个故障解决办法
# echo vm.max_map_count=262144 >> /etc/sysctl.conf
# sysctl -p
5.phpmyfaq基本设置
访问 http://ip:8080 进行基础设置,其中数据库用户名和密码在docker-compose.yml可以查看
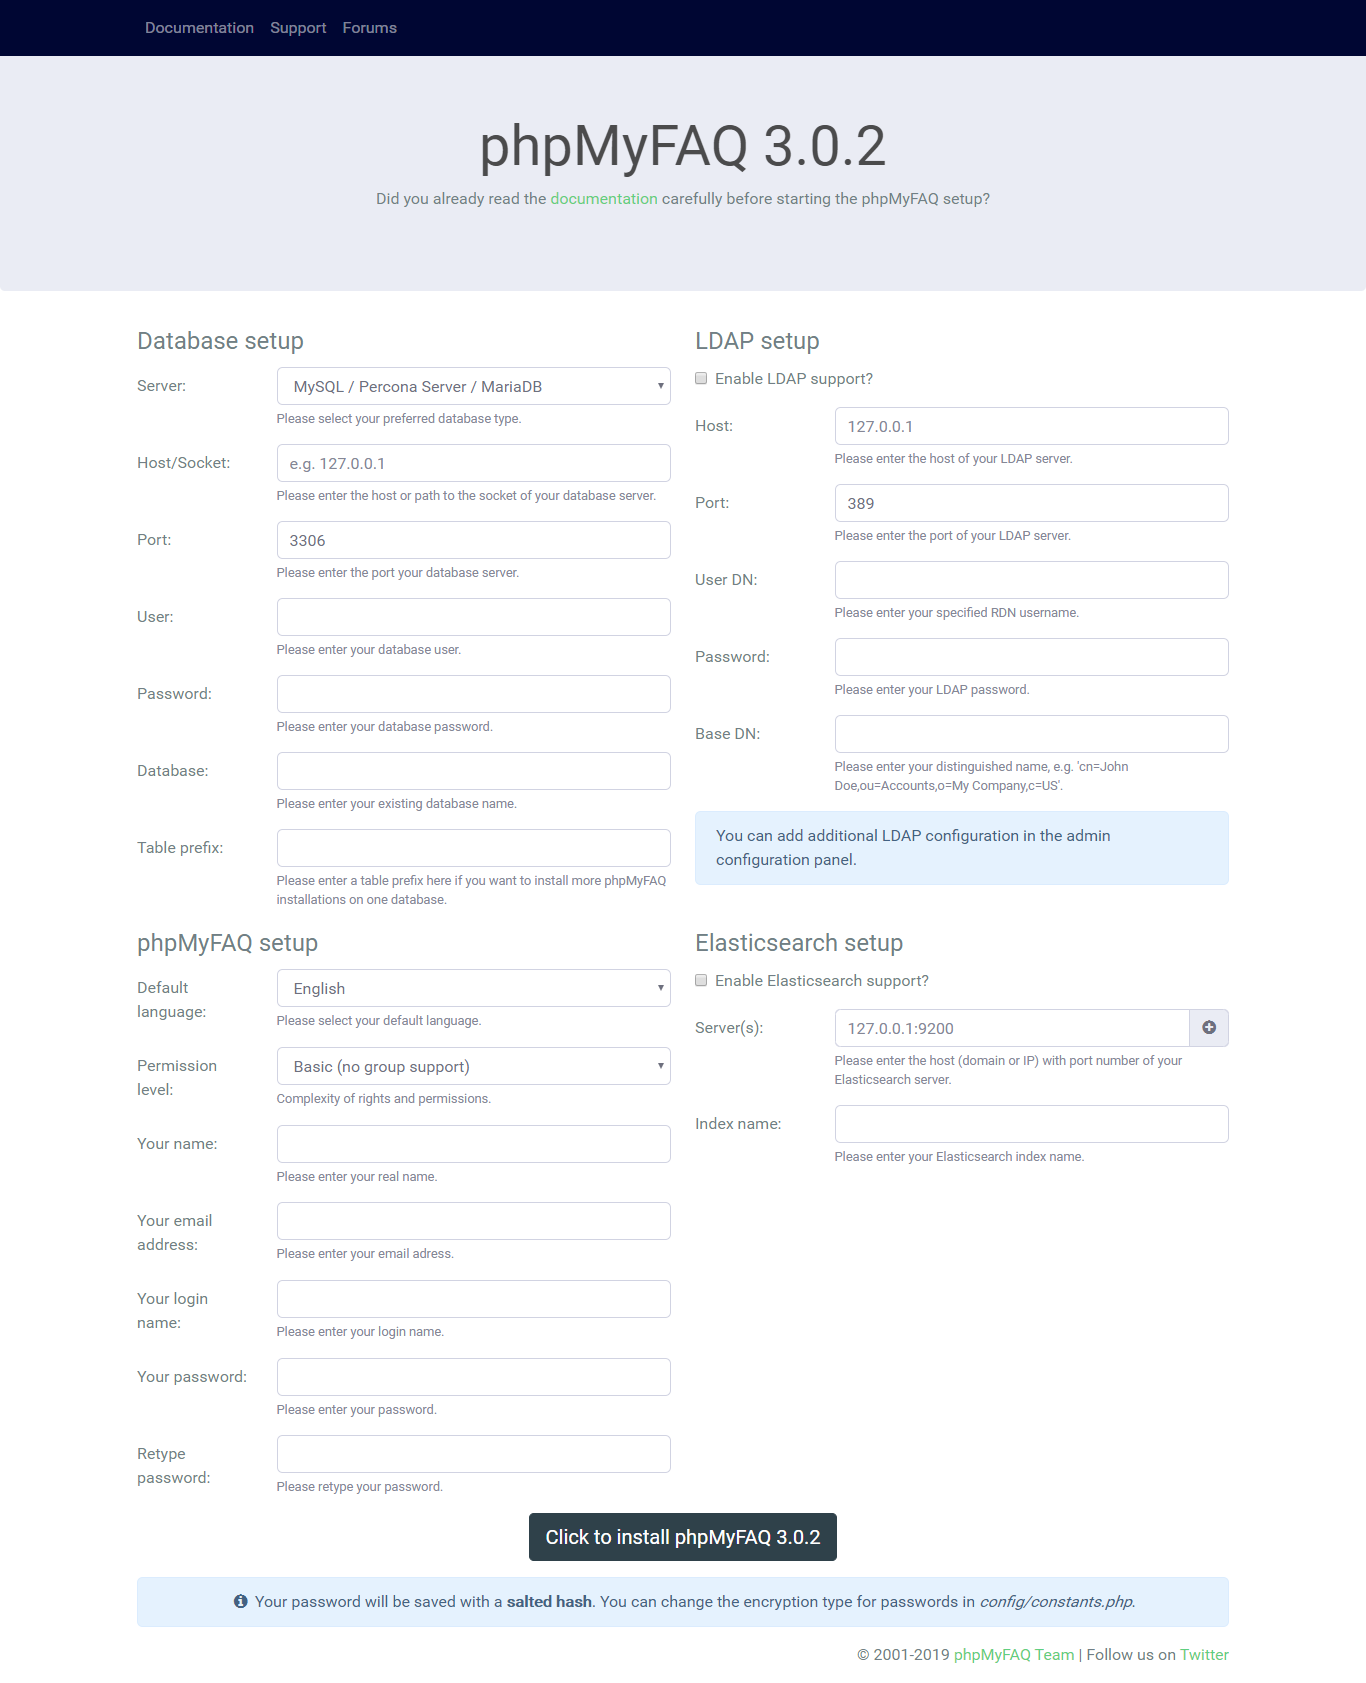 ldap我没配置,其他的正常配置,ip地址根据你的具体情况自行设置
6.添加故障知识库过程
主要涉及到的几个操作步骤我在下面都贴出来,因为我只用到能够查找故障的处理办法的功能,其他的我没用到,如果有其他需要,请自行研究,并且首页页面有些不要的元素我已经隐藏,涉及的文件为index.html,startpage.html
登陆管理控制台
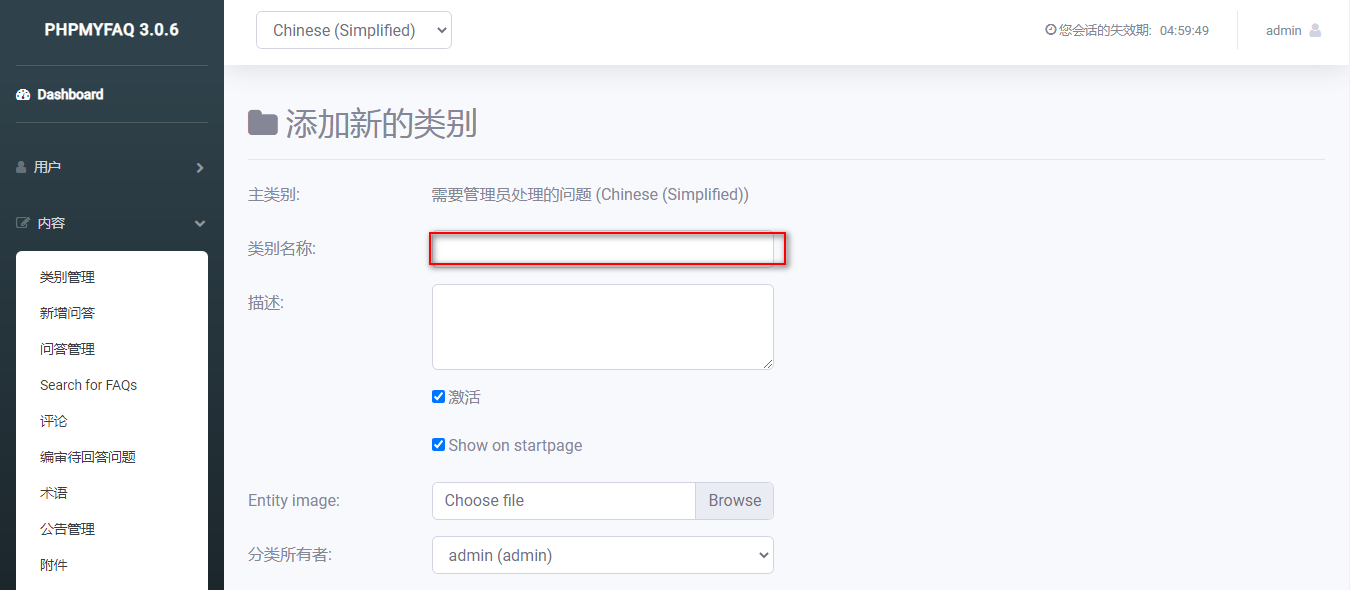
 添加新的类别
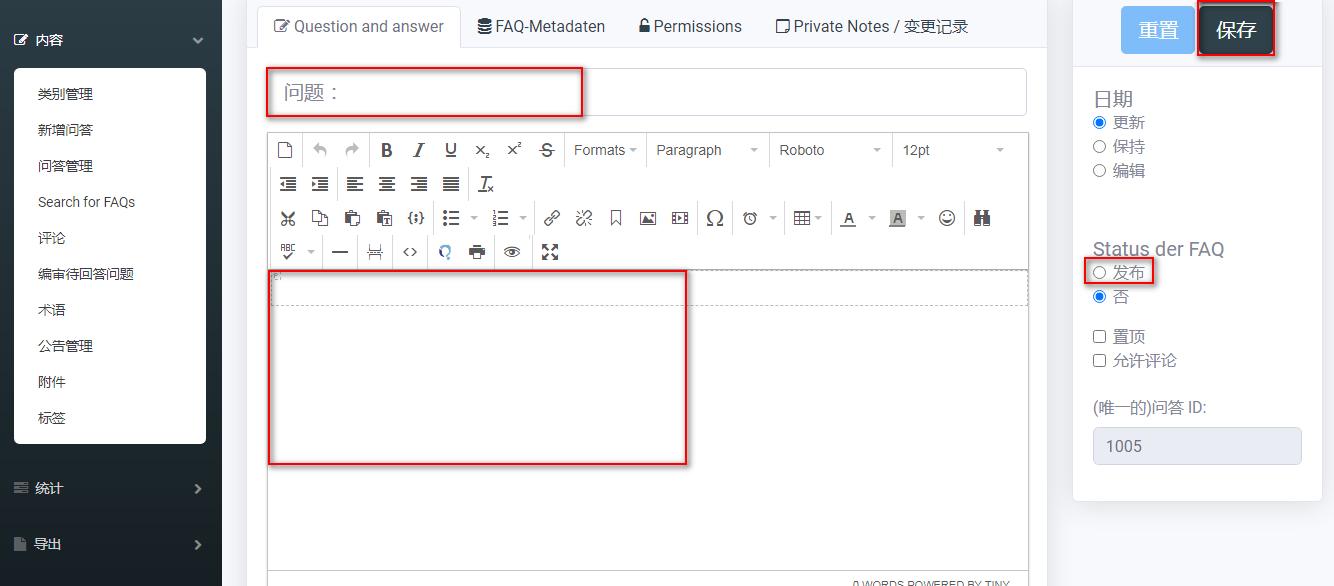
 新增问答
新增问答
 绑定类别
绑定类别
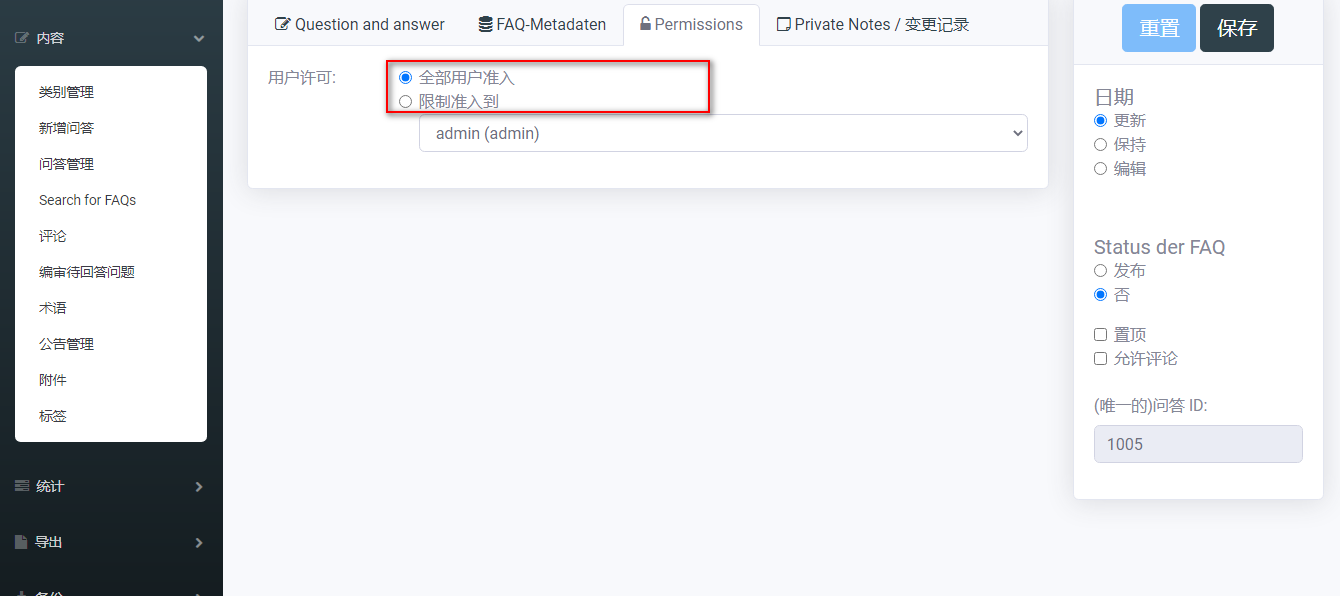
 设置问题准入权限
有些问题的处理需要涉及到管理员权限,因此我这里做个两个权限规划,可以根据自己需求进行规划
 操作后点击右上角保存
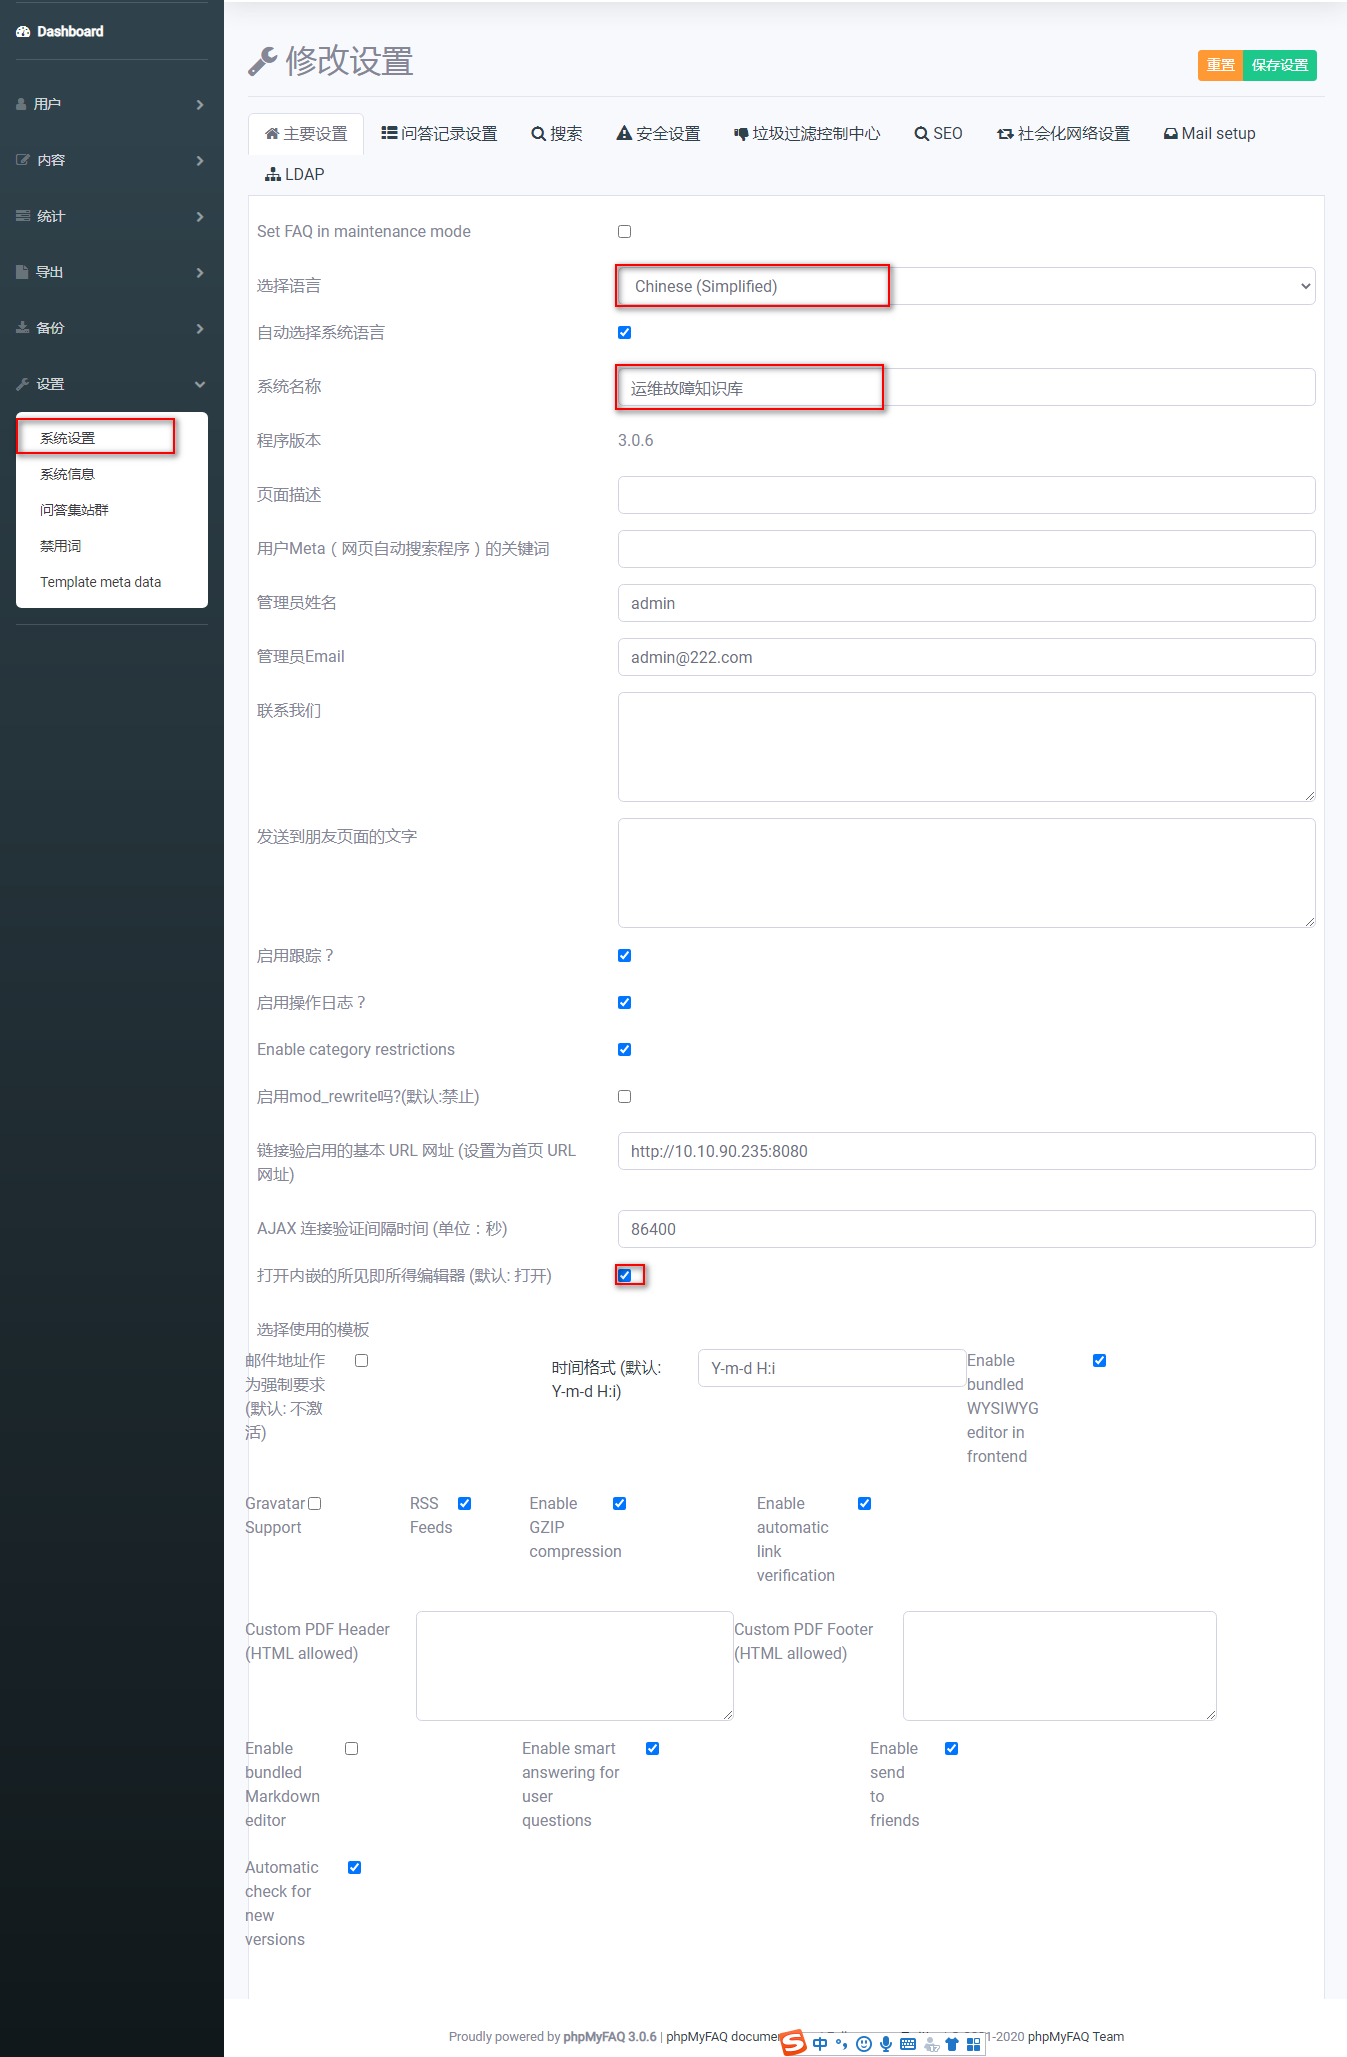
系统设置
一般设置这3项就可以,其他的用户上
 7.查找故障
进入首页
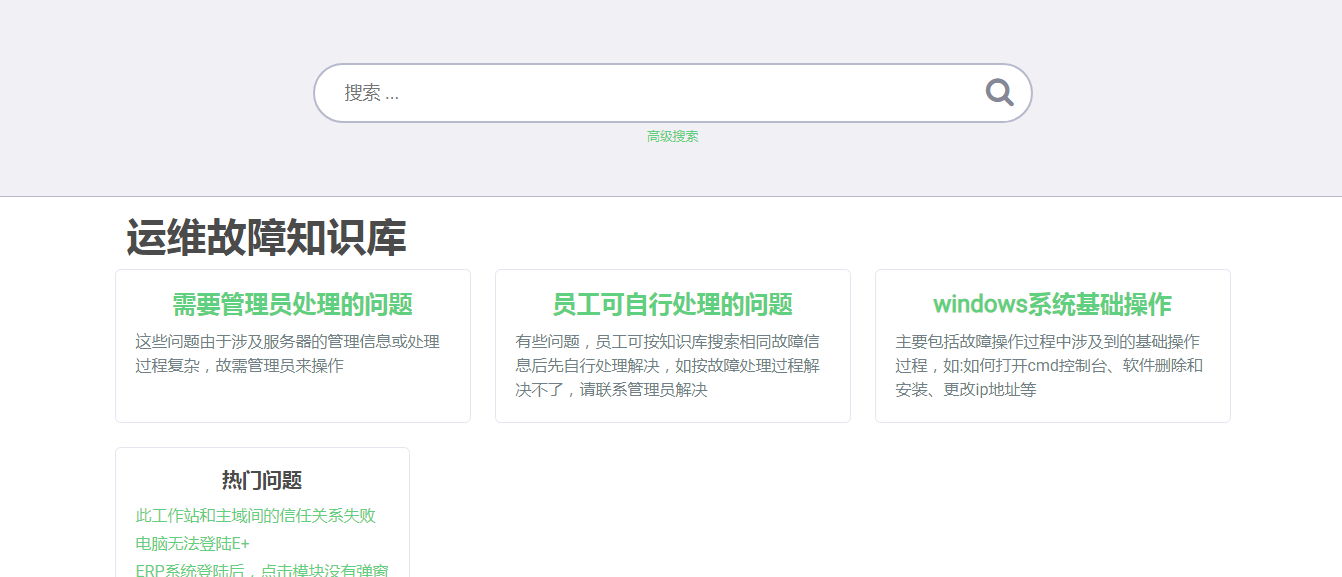 查找问题
查找问题
声明:本博客的原创文章,都是本人平时学习所做的笔记,转载请标注出处,谢谢合作。